

What is the installation process for Outdoor WPC Wall Panel on a curved wall?
Hey there! As a supplier of Outdoor WPC Wall Panels, I often get asked about the installation process, especially when it comes to curved walls. It's a bit different from installing on straight walls, but don't worry, I'm here to break it down for you.
Understanding Outdoor WPC Wall Panels
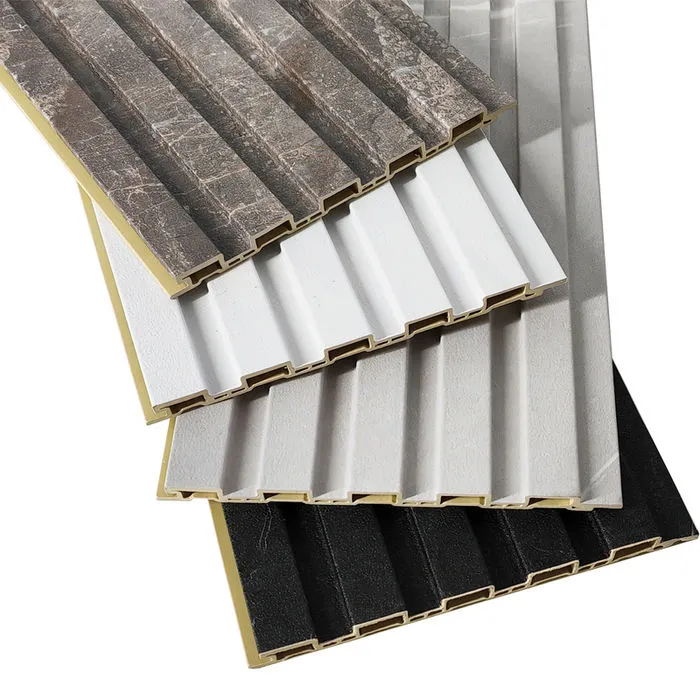
First off, let's talk a bit about what Outdoor WPC Wall Panels are. WPC stands for Wood - Plastic Composite. These panels are made by combining wood fibers and plastic polymers, which gives them the best of both worlds. They're durable, resistant to moisture, insects, and rot, and they also have a natural wood - like appearance.
Now, why would you want to use these panels on a curved wall? Well, they can add a unique and modern touch to your outdoor space. Whether it's a patio, a garden wall, or a commercial building's exterior, curved WPC wall panels can make a real statement.
Pre - installation Preparations
Before you start the installation, there are a few things you need to do.
Measuring the Curved Wall
The first step is to measure the curved wall accurately. You can use a flexible measuring tape to get the length and height of the wall. It's also important to measure the radius of the curve. This will help you determine how many panels you need and if you need to make any special cuts.
Selecting the Right Panels
Not all WPC panels are suitable for curved walls. You'll need to choose panels that are flexible enough to bend without breaking. Some of our Outdoor WPC Wall Panels are specifically designed for curved applications. You can check out our WPC Interior Wall Panel and Interior WPC Wall Panel and Indoor WPC Wall Panel options for more inspiration on panel types, although we'll focus on outdoor ones here.
Gathering Tools
You'll need a few tools for the installation. These include a circular saw or a jigsaw for cutting the panels, a drill for making holes, a level to ensure the panels are straight, a hammer or a nail gun for attaching the panels, and a caulk gun for sealing the joints.
Installation Steps
Installing the Furring Strips
The first thing you'll do is install the furring strips. These are thin strips of wood or metal that are attached to the wall to create a framework for the panels. On a curved wall, you'll need to bend the furring strips to match the curve of the wall. You can do this by using a heat gun to make the strips more flexible. Once they're bent, attach them to the wall using screws or nails. Make sure the furring strips are spaced evenly, usually about 16 inches apart.
Cutting the Panels
Next, it's time to cut the panels. Measure the length and width of each panel according to the size of the wall section you're covering. When cutting for a curved wall, you may need to make some angled cuts to ensure the panels fit smoothly around the curve. Use a circular saw or a jigsaw to make the cuts. Remember to wear safety goggles and a dust mask when cutting the panels.
Attaching the Panels
Once the panels are cut, it's time to attach them to the furring strips. Start at the bottom of the wall and work your way up. You can use a nail gun or a hammer and nails to attach the panels to the furring strips. Make sure the panels are level and plumb as you attach them. You may need to use a level to check this. Leave a small gap between each panel to allow for expansion and contraction due to temperature changes.
Sealing the Joints
After all the panels are attached, it's important to seal the joints. This will prevent water and moisture from getting behind the panels and causing damage. Use a caulk gun to apply a waterproof caulk to the joints between the panels. Smooth the caulk with a putty knife for a neat finish.
Post - installation Checks
Once the installation is complete, do a final check. Make sure all the panels are securely attached and there are no loose nails or screws. Check the joints to ensure they're properly sealed. Also, look for any signs of damage or unevenness in the panels. If you find any issues, make the necessary repairs right away.
Tips and Tricks
- Test the Bend: Before you start the full installation, test the bend of a panel on a small section of the curve. This will help you see if the panel can bend without cracking or breaking.
- Work Slowly: Installing WPC panels on a curved wall takes time and patience. Don't rush the process, as it can lead to mistakes.
- Use a Helper: Having an extra pair of hands can make the installation process much easier, especially when it comes to holding the panels in place while you attach them.
Conclusion
Installing Outdoor WPC Wall Panels on a curved wall may seem like a daunting task, but with the right preparation and tools, it can be done successfully. The end result will be a beautiful, durable, and unique outdoor wall that will enhance the look of your property.

If you're interested in purchasing our Outdoor WPC Wall Panels for your curved wall project or have any questions about the installation process, don't hesitate to contact us. We're here to help you every step of the way and ensure you get the best results for your project.
References
- "Wood - Plastic Composites: Materials and Applications" by John M. Stark
- "Outdoor Building Materials Handbook" by Jane Smith